Cinema Ads/Walkthrough

Walkthrough · Cinema Ads

Direct the shot. Then animate it.

A one-line brief and a camera package become three sketched storyboards, a directed film with real cuts, and a cut ready for a finishing suite. Here's the whole walk, from the sidebar to the Film Assembly.

The whole walk · seven stops

From a one-line brief to a directed film and a cut

Seven stops, in the order the studio runs them. Where it is, how you set the camera and the look, what you type, what comes back, how you change a panel, how the board becomes a film, and where the films go.

1. Open Creative Studio
Create → Creative Studio → Video → Cinema
2. Direct the shot
camera, style and genre on the bar
3. Write the brief
one line, the product photo, the length
4. Get A/B/C storyboards
three takes, scene by scene
5. Draw to iterate
only the panel you mark redraws
6. Approve & animate
the board becomes a directed film
7. Build the cut
heart the films, order, finish

Your client wants a video ad for the summer drop, and there's no budget for a shoot.

StyleForge Cinema Ads lives inside Creative Studio, on the Video tab. Here's how you get to it.

Step 1 · Open Creative Studio

Create → Creative Studio, then pick StyleForge Cinema Ads 1.0 from the Video tab

In the sidebar, open Create and click Creative Studio. Click the model button at the bottom, switch to the Video tab, and Cinema Ads is the first entry — the one with the STUDIO badge. Two things change: a cinema bar appears above the brief field with the camera, style and genre chips, and the bottom bar now carries the length and the Generate Storyboards button.

1Create
in the sidebar — it opens to Creative Studio
2Creative Studio
the page where every image and video model lives
3The model menu · Video
StyleForge Cinema Ads 1.0 · STUDIO, at the top
ImageVideo
StyleForge Cinema Ads 1.0STUDIO
Direct the shot — genre, camera package, and look — rendered by the best engine for the job.
the video models
Cinema is the front door of the Video tab; the plain video models sit below it. A second door: the sidebar's Ads & Commerce section lists Cinema Ads 1.0 directly.
The studio, with Cinema Ads picked · two bars
Brand:the dress clientEngine:AutoCamera:chooseStyle:NoneGenre:General
Describe the scene you imagine…
StyleForge Cinema Ads 1.0 16:9 ▾8s ▾− 1/4 +Generate Storyboards
Camera · Style · Genrethe direction — set once, it rides every board and the film
EngineAuto picks the best fit for the shot, or you choose; the film's card says which one rendered it
16:9 · 8sthe frame and the length — 5, 8, 10 or 15 seconds; square and story too
Generate Storyboardsboards first, always; nothing animates until you approve one

Before you write a word, you set how it's going to be shot.

Cinema Ads gives you a camera package, a look and a genre on the bar. You direct, and the app writes the cinematography.

Step 2 · Direct the shot

Set the camera, the look and the genre on the cinema bar — you direct, the app writes the cinematography

Each chip opens a picker. Camera is a real package: the body, the lens family, the focal length and the aperture. Style is three columns: the colour palette, the lighting, and the coverage sequence that decides how the scenes are shot and cut. Genre is one pick. The chips collapse your choices into their labels, and every board and the film shoot on that package.
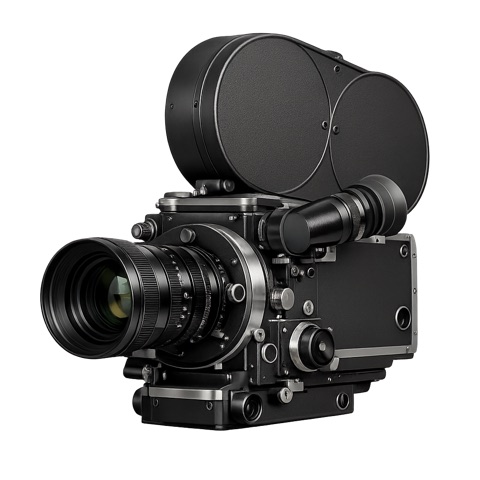
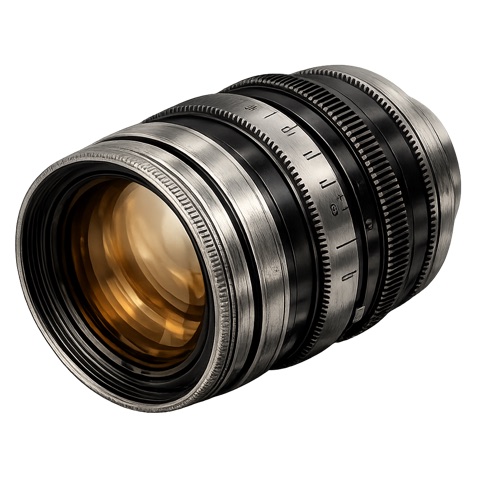
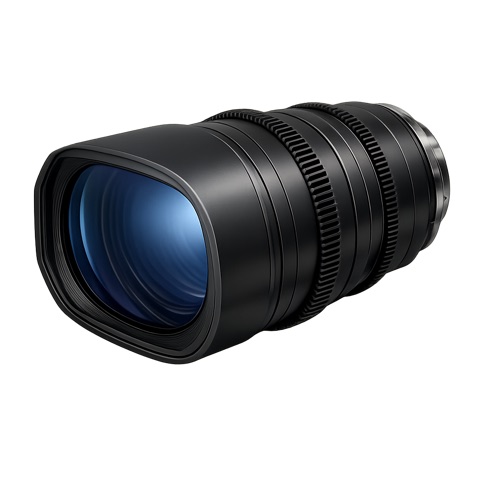
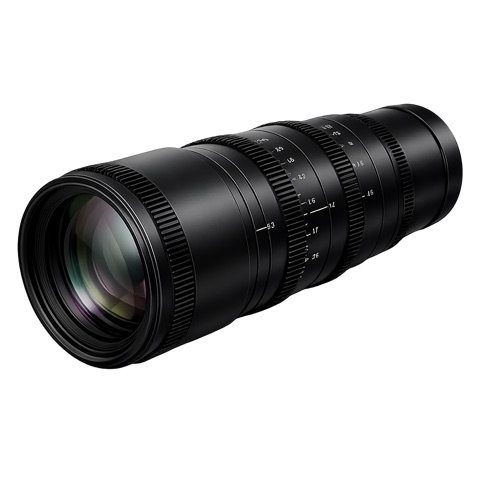
Camerathe picker
35mm Film
35mm Film
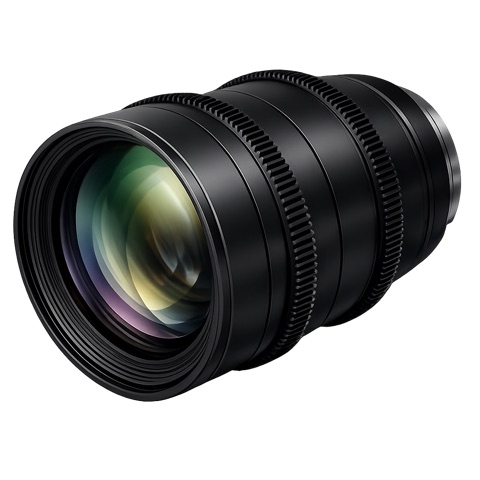
Vintage Prime
Vintage Prime
Camera35mm Film
LensVintage Prime
Camera Settings50mm · f/2
the picks resolve to real optics — 50mm at f/2 separates her from the field softly; 85mm at f/1.4 would dissolve it; 8mm keeps everything sharp
Stylethe picker
Warm Kodak
Warm Kodak
Golden Hour
Golden Hour
Color paletteWarm Kodak
LightingGolden Hour
Dynamic Coverage SequenceHero Reveal
the palette grades it, the lighting lights it, the coverage decides how the scenes are shot and cut
Genrethe picker
GenreDrama
one pick — Noir, Horror, Comedy, Drama, Epic, Action, Documentary or General
The bar, after:Camera:35mm Film · Vintage Prime · 50mm f/2Style:Warm Kodak, Golden Hour, Hero RevealGenre:Drama

Then you tell it the scene, attach the dress, and set the length.

Cinema Ads takes one line and the real product photo. It storyboards first, so nothing is spent on motion until you've seen the plan.

Step 3 · Write the brief

One line about the scene and the moment. Attach the product. Set the length. Generate Storyboards.

Say what we see and where it's going — the scene, the person, the beat it builds to. Attach the real product photo with the plus and it's drawn into every panel, so the dress in the film is the client's dress. Pick the frame and the length, then Generate Storyboards. Nothing animates yet.

Brand:the dress clientEngine:AutoCamera:35mm Film · Vintage Prime · 50mm f/2Style:Warm Kodak, Golden Hour, Hero RevealGenre:Drama
She walks barefoot through a daisy field in the summer dress, the hem catching the last light — build to the hero shot.
summer-dress-blush.jpg · the real product, attached
StyleForge Cinema Ads 1.0 ▾16:9 ▾8s ▾Generate Storyboards
From the bar
the camera package, the look and the genre are folded into every board
From the photo
the real dress is drawn into every panel and carried into the render
From the length
eight seconds means six scenes on one board; the timings add up to eight

A minute later, you have three storyboards, each a different way to shoot it.

Cinema Ads authors three takes on the brief, six captioned scenes each, with the timings, the shots and the cuts.

Step 4 · Get A/B/C storyboards

Three storyboards come back — three takes on the shot, scene by scene

The A, B and C dots fill as each board lands. Every board is a sketched sheet of six scenes, each captioned with its timing, shot size, angle and camera move, and where it cuts. Three boards means three coverages of the same brief, so you're choosing how it's shot before anything moves. Click a dot to switch boards.

Directing your storyboards · three takes on the shot, scene by sceneABC
AHero Reveal16:9 · 8s · 6 scenes
SCENE 10–1.5s · WIDE, LOW ANGLE, PUSH INCUT TO
SCENE 21.5–3s · MEDIUM, EYE LEVEL, TRACKCUT TO
SCENE 33–4.5s · CLOSE-UP, HEM, HANDHELDCUT TO
SCENE 44.5–6s · MEDIUM WIDE, PROFILE, ORBITCUT TO
SCENE 56–7s · CLOSE-UP, FACE, HOLDCUT TO
SCENE 67–8s · HERO, LOW ANGLE, RISECUT TO
builds to the dress as the hero
BHandheld Verité16:9 · 8s · 6 scenes
SCENE 10–1.5s · WIDE, LOW ANGLE, PUSH INCUT TO
SCENE 21.5–3s · MEDIUM, EYE LEVEL, TRACKCUT TO
SCENE 33–4.5s · CLOSE-UP, HEM, HANDHELDCUT TO
SCENE 44.5–6s · MEDIUM WIDE, PROFILE, ORBITCUT TO
SCENE 56–7s · CLOSE-UP, FACE, HOLDCUT TO
SCENE 67–8s · HERO, LOW ANGLE, RISECUT TO
loose, close, in the field with her
COrbit & Reveal16:9 · 8s · 6 scenes
SCENE 10–1.5s · WIDE, LOW ANGLE, PUSH INCUT TO
SCENE 21.5–3s · MEDIUM, EYE LEVEL, TRACKCUT TO
SCENE 33–4.5s · CLOSE-UP, HEM, HANDHELDCUT TO
SCENE 44.5–6s · MEDIUM WIDE, PROFILE, ORBITCUT TO
SCENE 56–7s · CLOSE-UP, FACE, HOLDCUT TO
SCENE 67–8s · HERO, LOW ANGLE, RISECUT TO
the camera circles, then lands
Want another take? Change the style or the coverage and Generate again — a new colour-coded set lands beside this one. Nothing overwrites your earlier boards.

Board A is right, but one scene should be different. You change just that scene.

Click Iterate, mark the panel, say the change. Only that panel redraws; the rest of the board is held exactly.

Step 5 · Draw to iterate

Board A is right, but scene 3 should be the hem — click Iterate, mark the panel, say it

Iterate opens the board for marks. Pin or draw on the panel you want different and type the change in plain words. The director revises only what you marked and redraws that board with every untouched panel held exactly as it was. Change the shot, keep the take.

Storyboard A · Hero Reveal✎ Iterate
AHero Reveal16:9 · 8s · 6 scenes
SCENE 10–1.5s · WIDE, LOW ANGLE, PUSH INCUT TO
SCENE 21.5–3s · MEDIUM, EYE LEVEL, TRACKCUT TO
SCENE 33–4.5s · CLOSE-UP, HEM, HANDHELDCUT TO
SCENE 44.5–6s · MEDIUM WIDE, PROFILE, ORBITCUT TO
SCENE 56–7s · CLOSE-UP, FACE, HOLDCUT TO
SCENE 67–8s · HERO, LOW ANGLE, RISECUT TO
Your note on scene 3
“Make scene 3 a close-up on the hem catching the light. Keep every other scene exactly as drawn.”
What redraws
held
held
redrawn
held
held
held
Scene 3 comes back as the hem close-up. Scenes 1, 2, 4, 5 and 6 didn't move — the board is redrawn from itself, so they stay pixel for pixel. Mark again, or approve.

You approve board A, and it becomes a film.

Approve & animate turns the board into a directed film with real cuts. It lands as a titled video you can play, heart and download.

Step 6 · Approve & animate

Approve the board and it animates into a directed film — the cuts you drew are the cuts you get

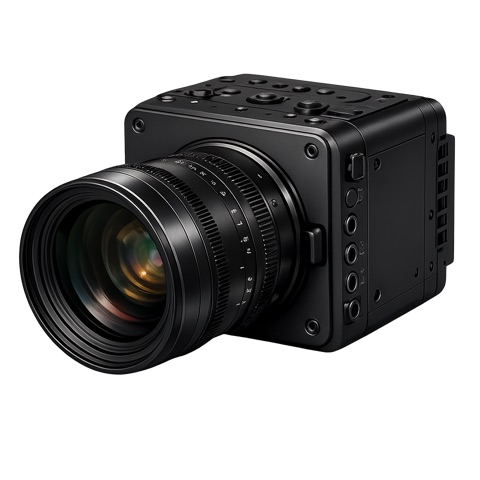
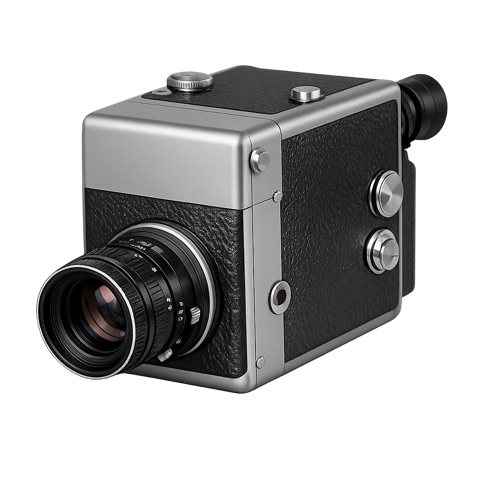
Approve & animate sends the board and the product photo to the render as references. The sketched scenes become real scenes with real cuts, the camera package and the look show in the picture, and if the brief had a spoken line it's voiced. A couple of minutes later the film lands below the boards as a titled video — play it inline, heart it, add music, download it. The card says which engine rendered it.
Storyboard A · approved
AHero Reveal16:9 · 8s · 6 scenes
SCENE 10–1.5s · WIDE, LOW ANGLE, PUSH INCUT TO
SCENE 21.5–3s · MEDIUM, EYE LEVEL, TRACKCUT TO
SCENE 33–4.5s · CLOSE-UP, HEM, HANDHELDCUT TO
SCENE 44.5–6s · MEDIUM WIDE, PROFILE, ORBITCUT TO
SCENE 56–7s · CLOSE-UP, FACE, HOLDCUT TO
SCENE 67–8s · HERO, LOW ANGLE, RISECUT TO
IterateDownloadApprove & animate
Boards B and C stay where they are. Animate one of them later and its film lands beside this one.
Shot on · the camera package rides into the film
Clean Digital
Classic 16mm Film
35mm Film
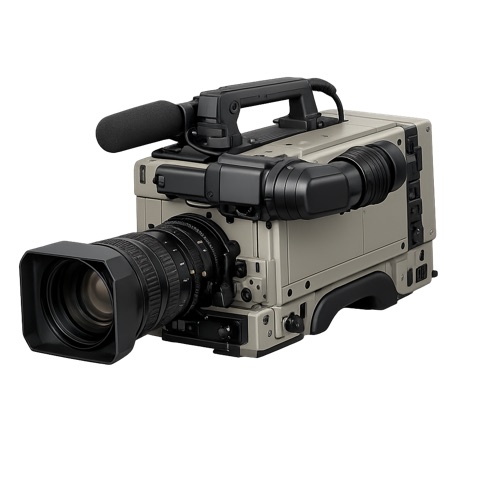
Vintage Broadcast
Clean DigitalClassic 16mm Film35mm FilmVintage Broadcast
Premium Modern Prime
Vintage Prime
Anamorphic
Macro
Premium Modern PrimeVintage PrimeAnamorphicMacro
Film · Last Light in the Daisies
16:9 · 8s
Heart Add music Download· the engine that rendered it is stamped on the card
Add music shows on films of ten seconds or more — a saved track from the kit, or one composed to the film's length. The silent film stays beside it.

You heart the films you love, put them in order, and hand the cut to a finishing suite.

The Film Assembly is the director's bin. Video Director cuts it for you; the Video Editor gives you the timeline. Save files it all under the client's kit.

Step 7 · Build the cut

Heart the films you love, order the cut, and hand it to a finishing suite

Every film carries a heart. Heart the keepers and they collect in the Film Assembly strip — drag them into order, scene 1, 2, 3, with a running scene and runtime readout. One click sends the ordered cut to Video Director for an AI cut, or to the StyleForge Video Editor for a manual timeline, as a fresh project with the footage already in order. The first Save picks the brand kit and files the whole session on its Videos page; after that it autosaves.

Heart the keepers
Last Light in the Daisies
The Hem, Handheld
Orbit to the Hero
Add to Film Assembly — the heart on any finished film.
Film Assembly · drag to order
1Last Light in the Daisies0:08
2The Hem, Handheld0:08
3Orbit to the Hero0:08
3 scenes · 0:24
Video DirectorAI cut
cuts the clips by meaning — trimmed, scored, on brand
StyleForge Video Editormanual
a full timeline — arrange, trim and finish the cut yourself
Save picks the brand kit and files the session on its Videos page — every set, board and film comes back when you reopen it.

Or you say the whole thing to Claude and let it direct.

Claude picks the look by name, confirms the real product, authors the boards on a live preview, and animates only on your go.

Or · Say it to Claude

Tell Claude the scene and it directs the storyboards — you approve, it animates

Everything above can be said instead of clicked. Claude reads the camera and look catalog, resolves the client's real product, authors three storyboards on a live preview and argues which coverage fits. You react in plain English — a board by its letter, a scene to change — and it animates only when you say so. The playbooks are the cinematic formats, named for the film you want.

“Direct an eight-second brand spot for the dress client — barefoot through a daisy field at golden hour, warm film look, build to the hero shot. Three boards, then I'll pick.”

directs
the look, by name → the real product, confirmed → three boards on a live preview → your pick → the film, only on your go
Cinematic brand spot
a person living a real moment with the product, built to a hero beat
Cinematic lifestyle
a warm day-in-the-life — the product woven into a ritual
Cinematic transformation
problem, turn, after — cut for emotion
Product-in-action cinema
kinetic — the product in motion, sport, outdoors
Founder / origin cinema
the brand story told over B-roll of the making
Cinematic testimonial
an elevated, directed endorsement, beautifully shot
On-location cinema
a real place as the hero — the store, the venue, the street
Good to know
  • Storyboard first, not raw prompting. You direct with a sketched board and the craft dials, and the engine animates that plan — that's what makes the cuts and the look reliable.
  • The engine is disclosed. Auto picks the best fit for the shot, or you pick one on the bar, and every film's card is stamped with the engine that rendered it.
  • Boards land in seconds. Animating a film renders in the background for a couple of minutes, sometimes more, and drops in as a titled video when it's ready.
  • Add music shows on films of ten seconds or more. Shorter films don't offer it, and the silent film always stays.
  • Generating is kit-agnostic. The first Save is the deliberate step that names the project and files it under a brand kit; after that it autosaves, and the Film Assembly needs a kit too.
The walk loops — reopen the project from the Videos page and every set, board and film is where you left it, ready for the next take.
Open Creative Studio

Pick Cinema Ads on the Video tab. Set the camera and the look. Write one line. Generate Storyboards.