Walkthrough · Campaign Ads
Brief in, campaign out.
A one-line brief becomes three concept boards in three proven ad formats, finished ads in every placement, and a campaign staged to publish. Here's the whole walk, from the sidebar to the ad account.
The whole walk · seven stops
From a one-line brief to a staged campaign
Seven stops, in the order the studio runs them. Where it is, what you type, what comes back, which board you choose, how you change an ad, how it gets sized, and where the winners go.
You're creating a new campaign for your client, and you need it by Friday.
StyleForge Campaign Ads lives inside Creative Studio. Here's how you get to it.
Step 1 · Open Creative Studio
Create → Creative Studio, then pick StyleForge Campaign Ads 1.0 from the model menu
In the sidebar, open Create and click Creative Studio. At the bottom of the studio is the model button — click it, stay on the Image tab, and choose StyleForge Campaign Ads 1.0, the one with the STUDIO badge. The bar above the brief field is now the campaign-ads bar. Here's what's on it.
Once you're in the studio, you tell it what you're selling and what the ad is for.
StyleForge Campaign Ads takes one line and the product photo. Your client's brand kit does the rest.
Step 2 · Write the brief
One line about the product and the point. Attach the product photo. Generate.
This is the whole ask: what you're selling and what the ad is for, in a sentence. Attach the real product photo with the plus, so the ad shows the real thing and never invents packaging. The brand kit is already on the bar, so the palette, the voice and the persona ride in without being typed. Then Generate Concepts.
A minute later, you have three concept boards to choose from.
StyleForge Campaign Ads picks three proven ad formats and writes the copy for each one.
Step 3 · Get A/B/C
Three boards come back — and A, B and C are three different proven formats
A minute later you're looking at three sketch boards, cheap on purpose. Each one is a different layout from a library of over fifty formats harvested from real winning ads — three concepts on each, with the headline, the primary text and the button already written. That's not three versions of one idea. It's three structures, the way a media buyer actually tests, so “B is right, change the headline” means something.
You choose board B, and the ads for board B come back.
Approve & Produce renders the board's three concepts as finished ads, with the copy set exactly as written.
Step 4 · Choose a board
Pick the board you want, click Approve & Produce, and the ads for that board come back
You choose board B. Approve & Produce takes that board and renders its three concepts as finished ads at full quality, with the copy set character for character — no paraphrasing on the way to the pixels. Boards A and C stay on the workbench in case you want them later.
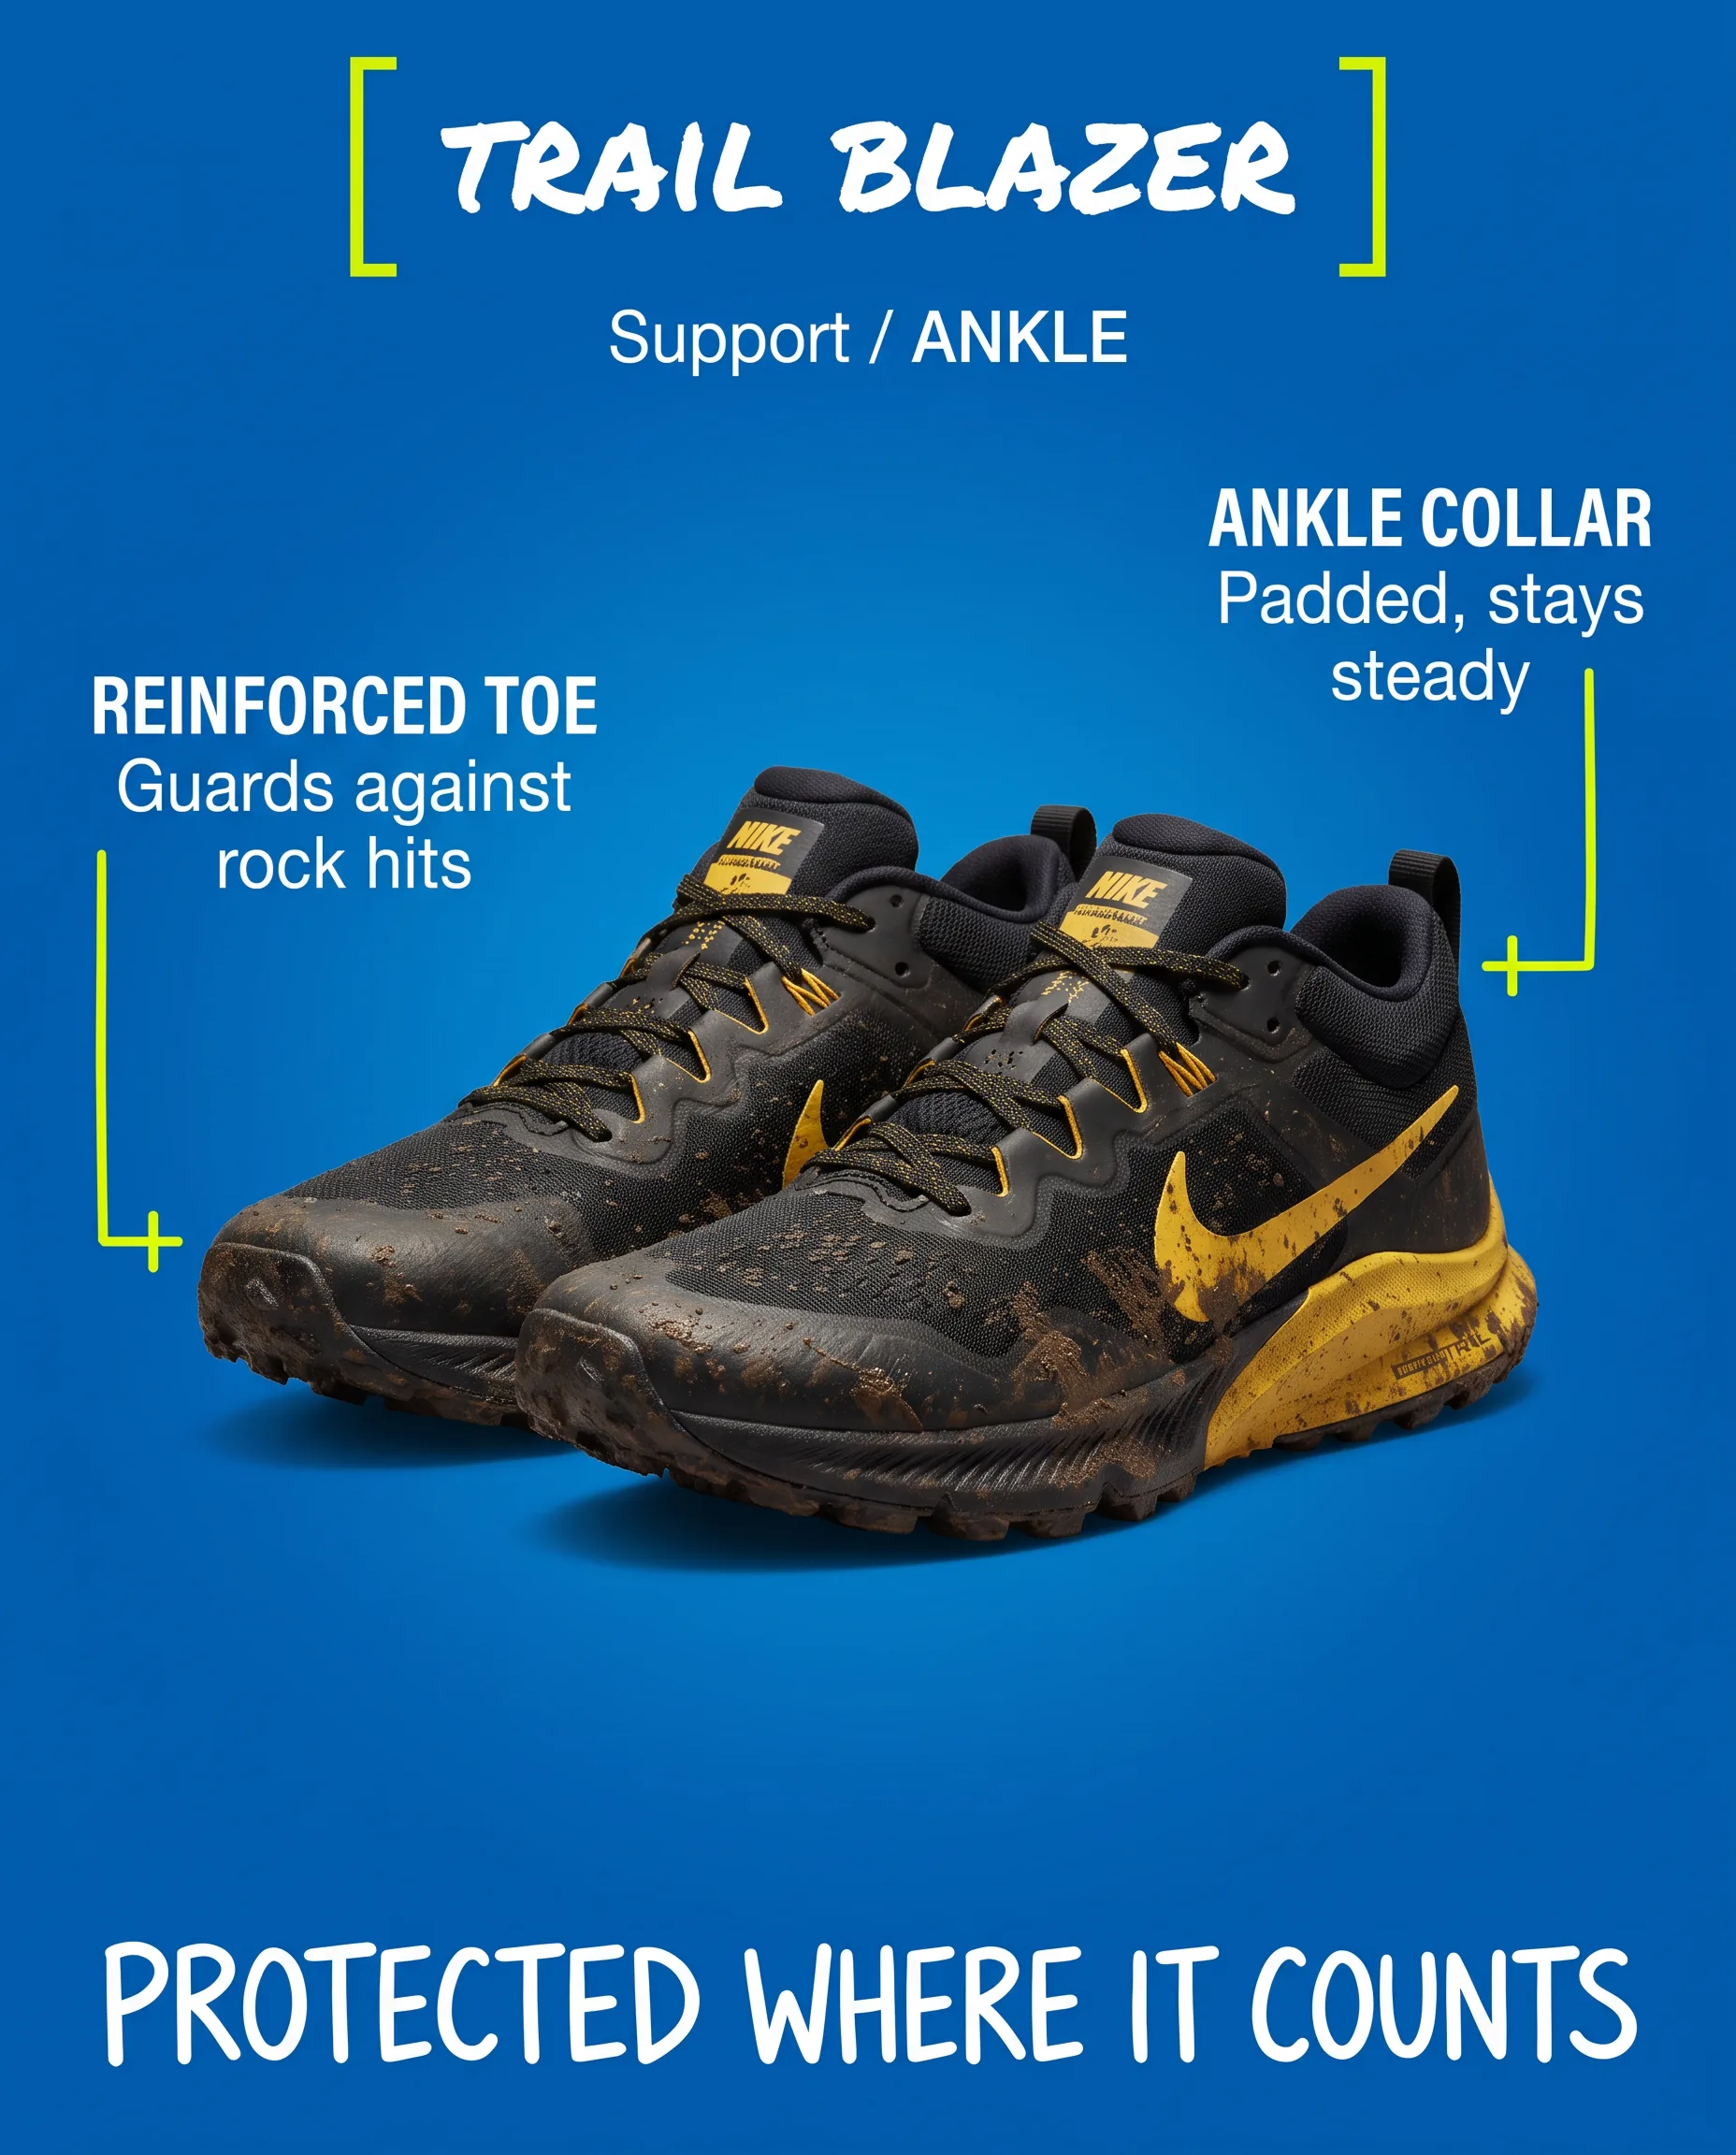
You've got the ads back, but you want a change on one of them.
Use the revision tool: draw on the ad, request the change, and only that ad re-renders.
Step 5 · Make a change
Got the ads back but want a change? Use the revision tool — draw on the ad and request it
The ads for board B are back, and the second one is right except the headline is too small. Open the revision tool, draw a circle around the part you want different, and type the change. Only that ad re-renders; the other two stay exactly as they were. No re-rolling the set and losing what worked.
Then you size the ad for every placement it's going to run in.
Placements restages the finished ad for feed, story, reels and landscape. Nothing is stretched.
Step 6 · Size it
Open Placements and take the finished ad into every size the platforms want
Feed square, feed portrait, story and reels, landscape. Each one is restaged for its shape — the layout is rebuilt, the copy stays — never stretched or cropped. This is the resize work that used to eat the afternoon.
You pick the keepers and send them into the campaign.
It lands in your client's ad account paused, waiting for your go.
Step 7 · Into the campaign
Heart the keepers, assemble the campaign, publish paused
Every finished ad carries one toolbar: heart it, save it to the kit, add it to a brief or a board, drop it in an album, send it to a campaign, or download it. Heart the keepers and they stage into the Assemble Campaign sidebar; push them to a campaign and publish. It lands paused in the client's ad account — a person turns it on — and when it runs, the numbers come back onto the exact ad, ready for the next round.

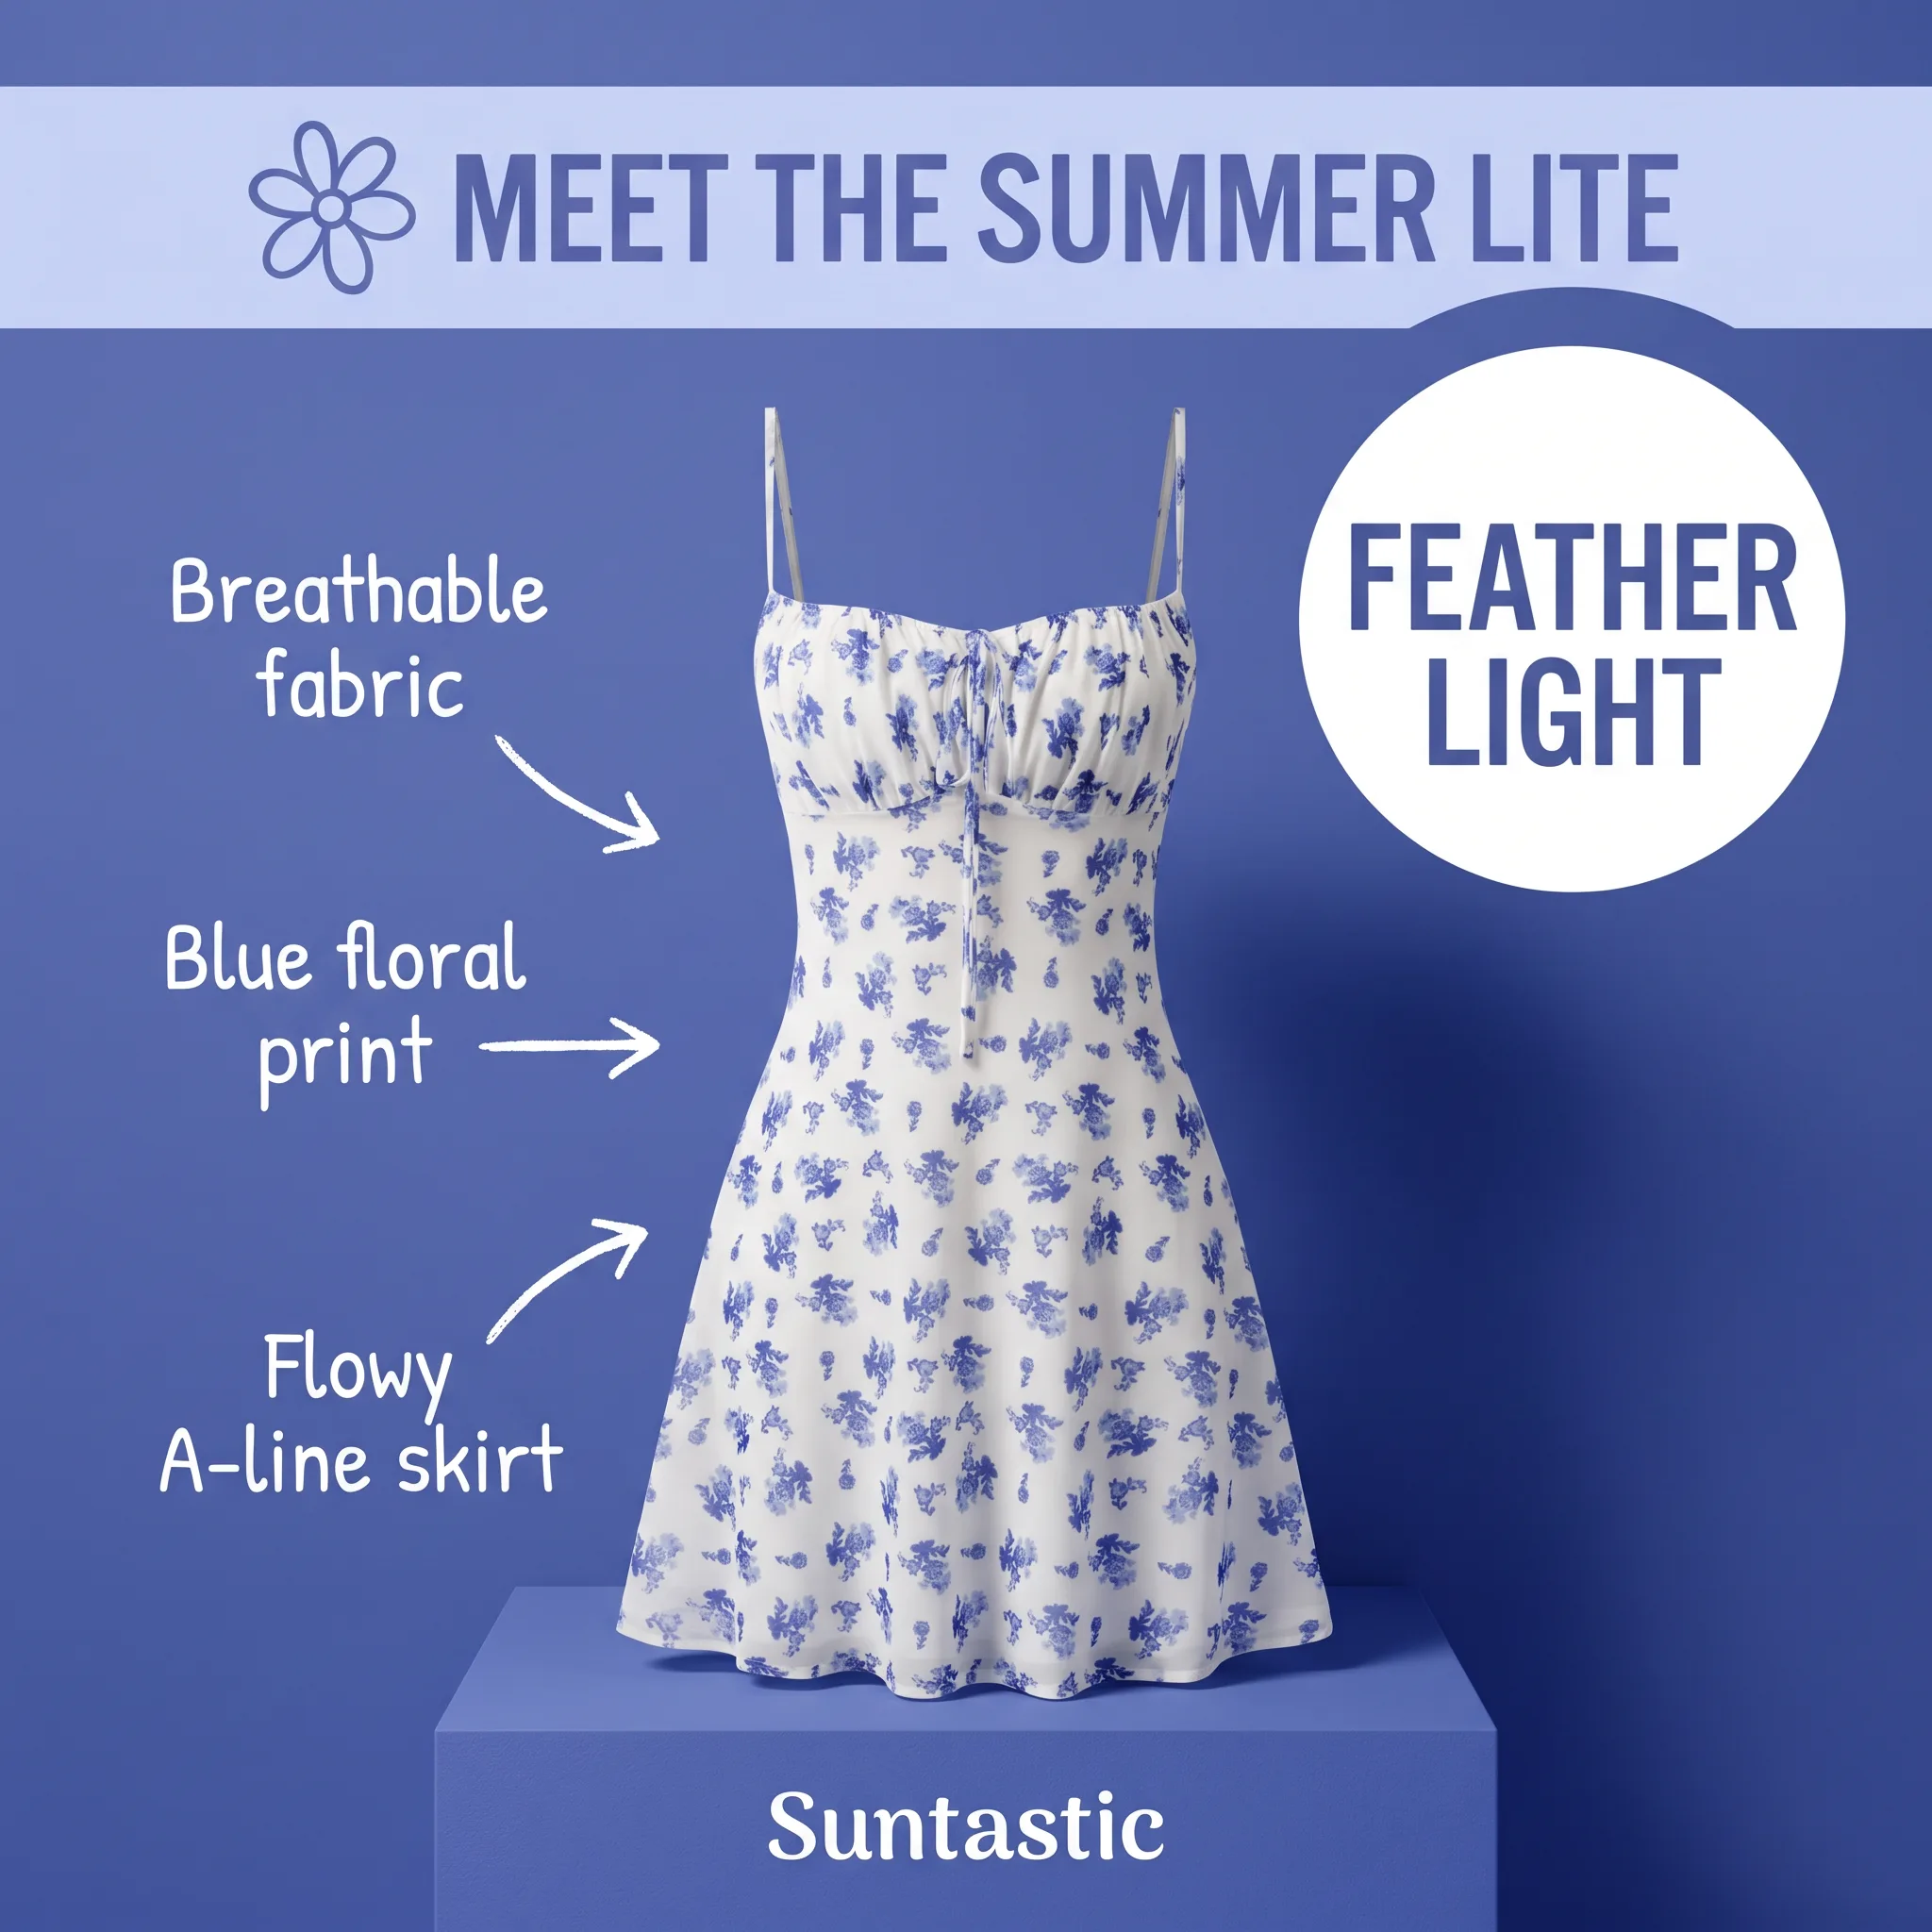
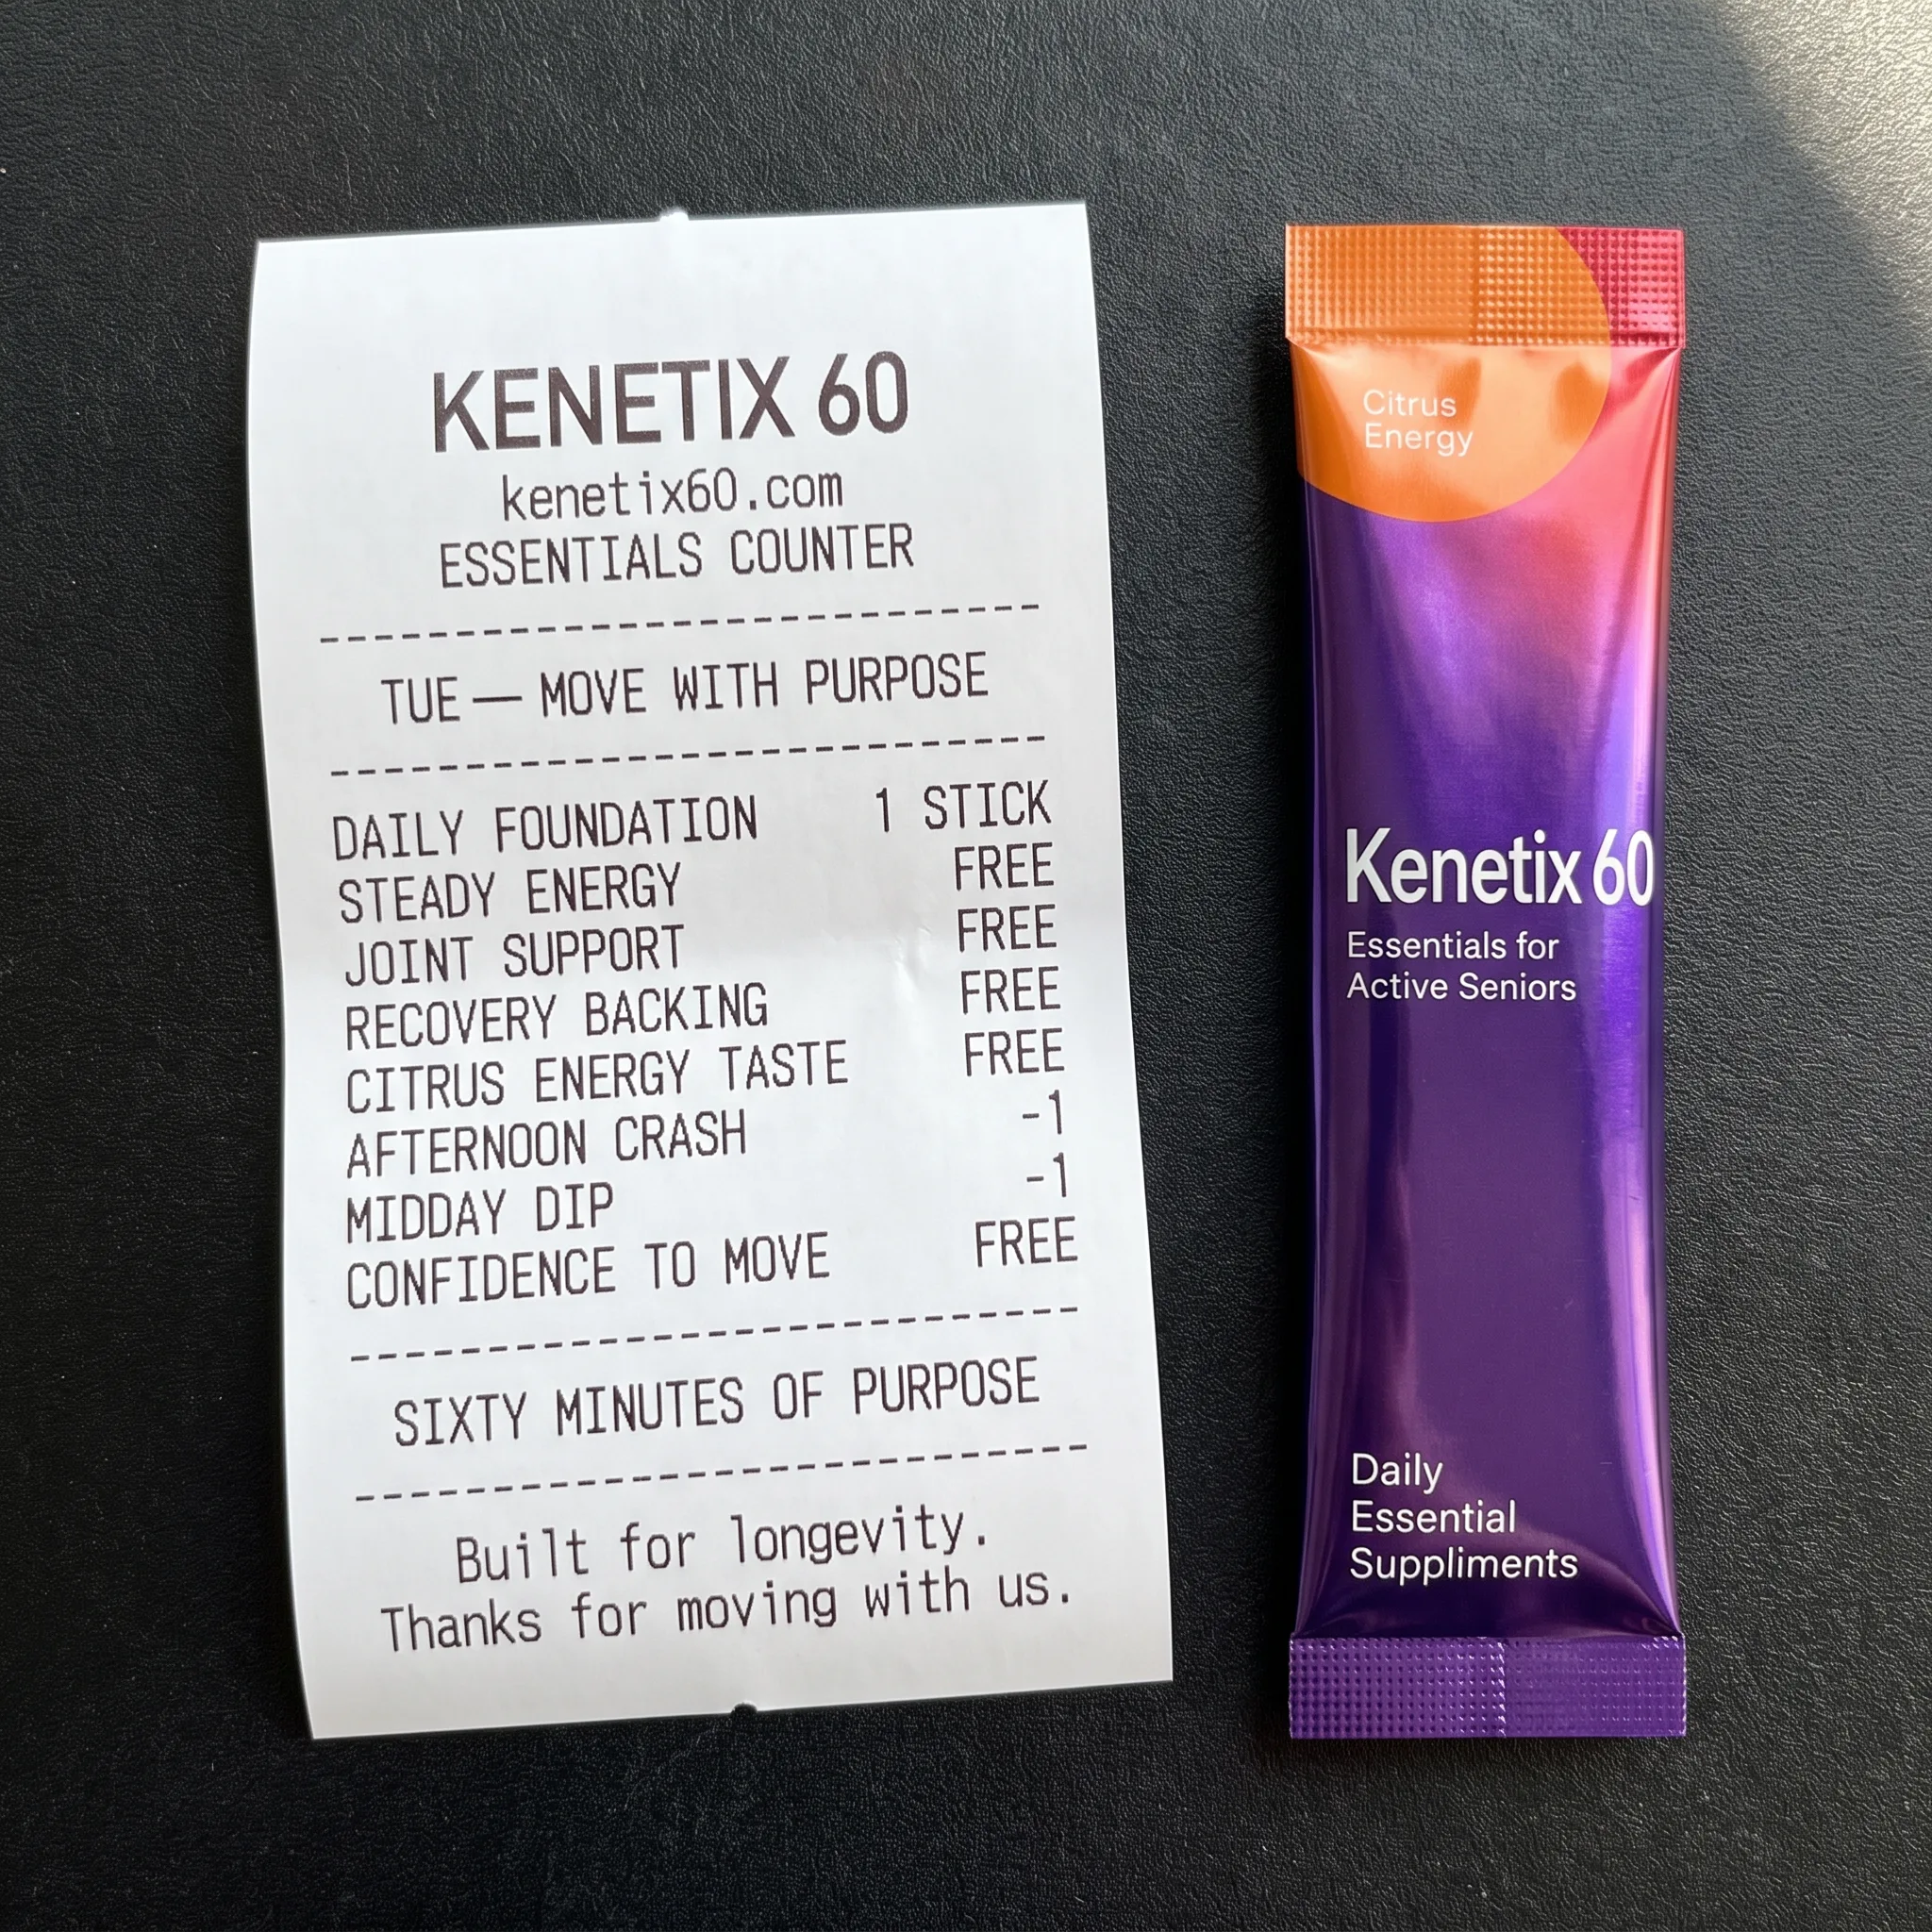
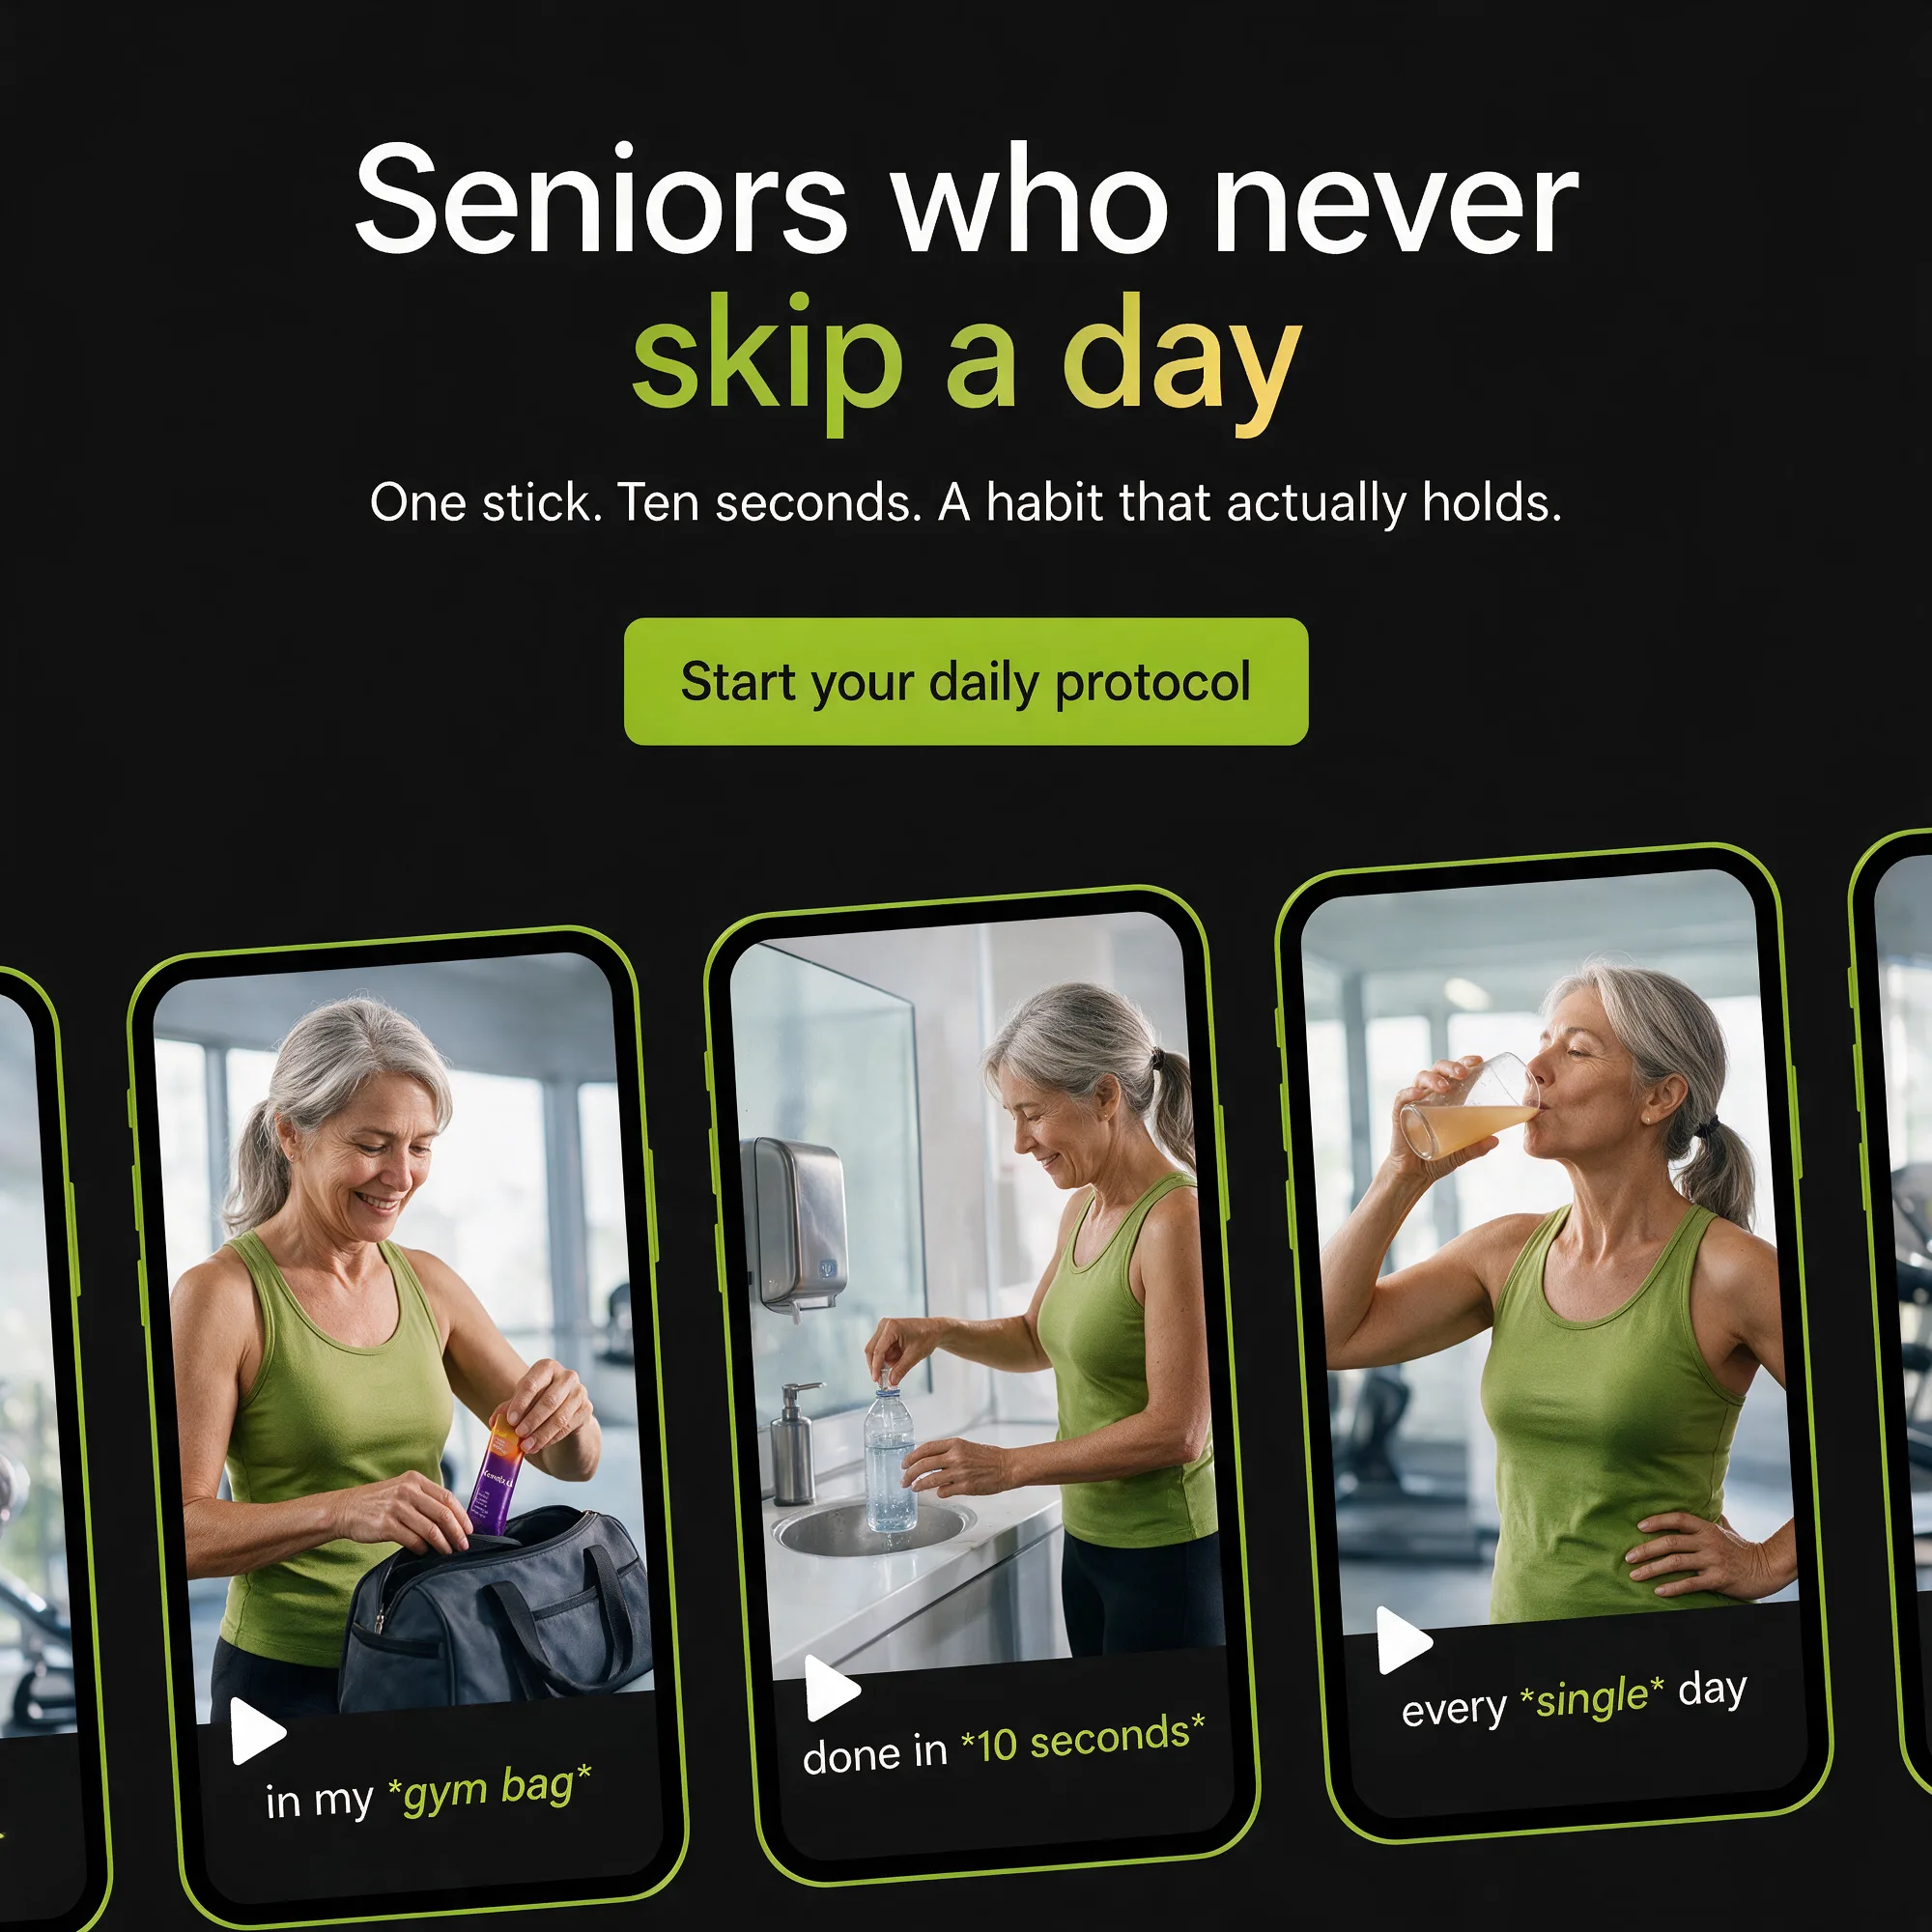
Or you say the whole thing to Claude and let it run the steps.
One sentence runs the pipeline end to end, and the playbooks are named for the moment you're in.
Or · Say it to Claude
The whole pipeline in one sitting — or a playbook named for the moment you're in
Everything above can be said instead of clicked. One sentence to Claude runs the pipeline end to end: aligned direction, three concepts, finished ads, every placement, a named campaign, a paused draft in the ad account. And the playbooks are named for the moment you're in, so you don't have to know the steps to start.
“Build the fall trail push for the trail client — three concepts from the proven formats, produce the best board, size for Meta, and stage it paused.”
- Publishing and performance need the client's ad account connected to the brand kit first — Meta, Google and TikTok each authorise once. Every publish lands paused.
- Campaign Ads makes stills, by design. For motion, Cinema Ads 1.0 is the sibling in the same menu.
- The format library is over fifty and growing — it's a floor, not an exact count.
- Attach the real product photo. The ad shows the real thing and never invents packaging; without a photo, the format decides how the product appears.
Pick Campaign Ads from the model menu. Write one line. Generate.