Walkthrough · Store Creative Studio
Your product, styled like an agency shot it.
A connected store becomes product-page creative — the real product, the real facts, sequenced and published straight back to the listing. Here's the whole walk, from the sidebar to your client's store.
The whole walk · seven stops
From a connected store to a published listing
Seven stops, in the order the studio runs them. Where it is, how the store comes in, how the product and its facts load, how you pick the format, what comes back, how the cards get produced, and where they go — back to the listing.
Your client runs a store, and every product page needs imagery it doesn't have.
Store Creative Studio lives inside Creative Studio, next to the ad studios. Here's how you get to it.
Step 1 · Open the studio
Create → Creative Studio, then pick Store Creative Studio 1.0 from the model menu
In the sidebar, open Create and click Creative Studio. Click the model button at the bottom, stay on the Image tab, and choose Store Creative Studio 1.0 — third in the list, under Campaign Ads and Carousel Ads. The bar above the brief now reads Brand, Store and Format, a store bar appears under it, and the bottom bar carries Creative Size, Cards and Concepts. Every project you make here also lives on the kit's Store Creatives page, grouped by product.
First, the store comes in — the photos and the details around them.
Shopify connects securely and can publish back. Every other store syncs from just its URL. Either way, the catalog lands in the client's kit.
Step 2 · Connect the store
Get connected takes you to the kit's Ad Platforms page — Shopify by connection, every other store by its URL
Click Get connected. A Shopify store links with a secure connection, and that connection is what lets finished creatives publish back to the listing later. Every other store syncs from just its homepage URL — no login, no app install. The catalog lands in the client's brand kit with live progress: products, prices, photos and descriptions. Then the Store chip can read the store's shape — its colours, its voice, its product world, its photography — and you choose what informs each run.
You load a product, and you decide which of its facts get printed.
The Facts bar turns the product's details into chips. Each one prints exactly what it says — the price, the size, the roast — or stays out.
Step 3 · Load a product, choose the facts
Load a product and its details become chips — each one prints exactly what it says, or not at all
Click Load product and pick any product from the connected store. Its photos become the studio's references, and its details fill the Facts bar: the price, the options, the type. Every chip shows the exact string it will render — click to include it or leave it out. Add an Offer in your own words, choose how it's displayed and whether it carries a deadline. Then the dials: the background, what may sit beside the product, tiny hand-sketched accents, the font. Facts are printed digit for digit, never invented.
Then you pick the format and tell it the story in one line.
The format is the skeleton of the creative — a proven store layout. Your product's real details fill it.
Step 4 · Pick a format, write the story
The Format menu is the skeleton of the creative — proven store layouts, filled with your product's real details
Open the Format chip and the store formats appear with their example art: hook the product, earn each detail, close on the real price. Leave it on Auto and the studio picks three; or choose one — a Continuous Board like Tabletop Photography shoots the whole sequence as one scene and cuts it into cards. Then write the story in one line, set the size, the card count and the number of concepts, and Generate Concepts.
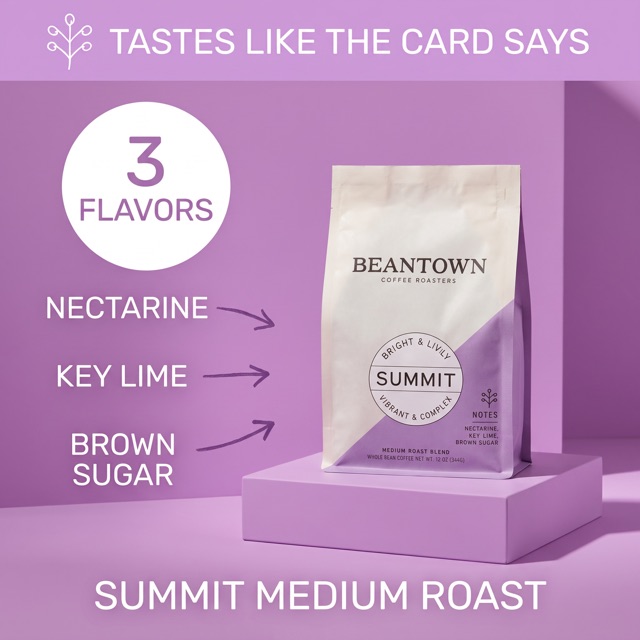
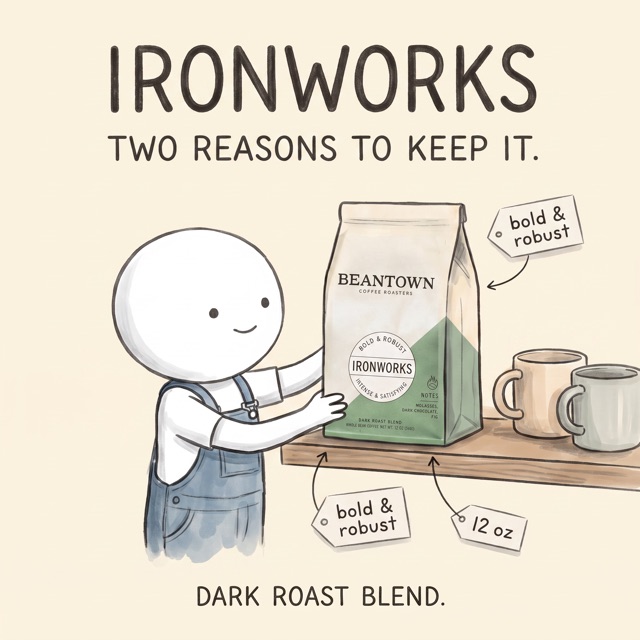

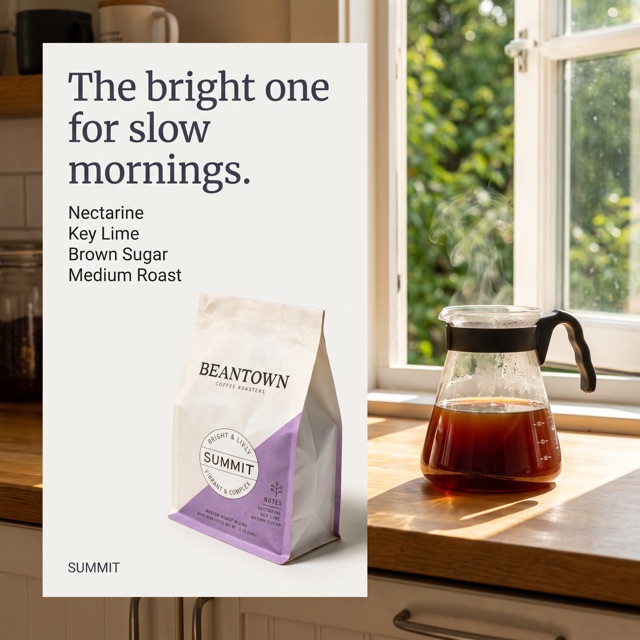
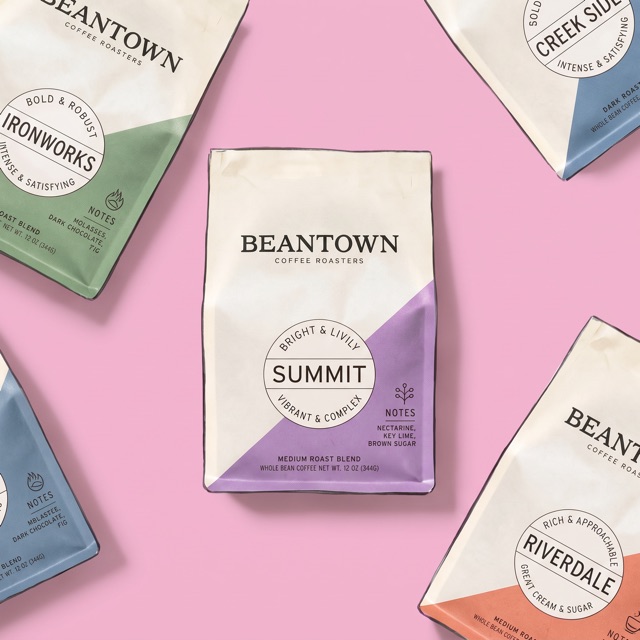
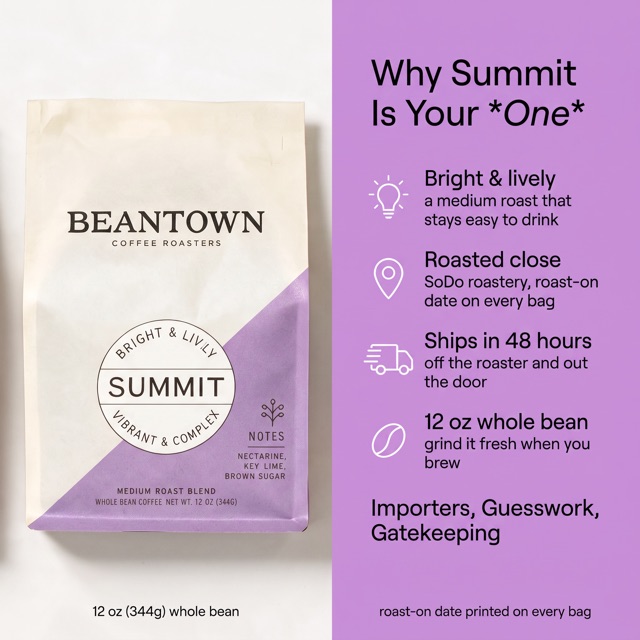

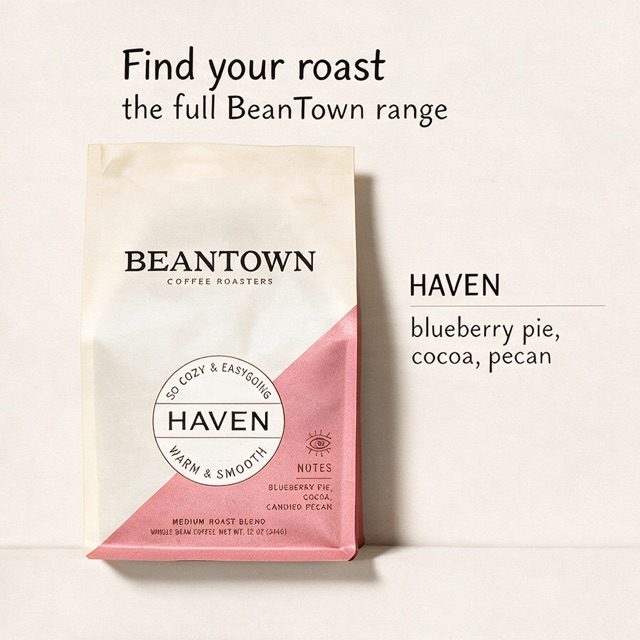
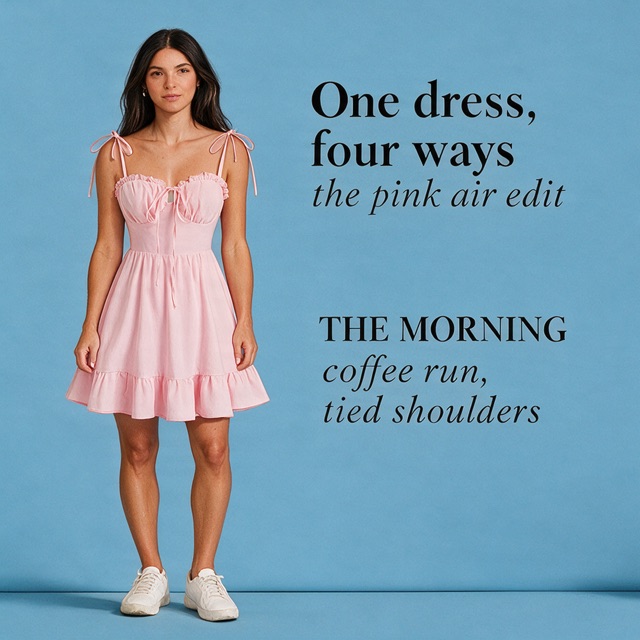

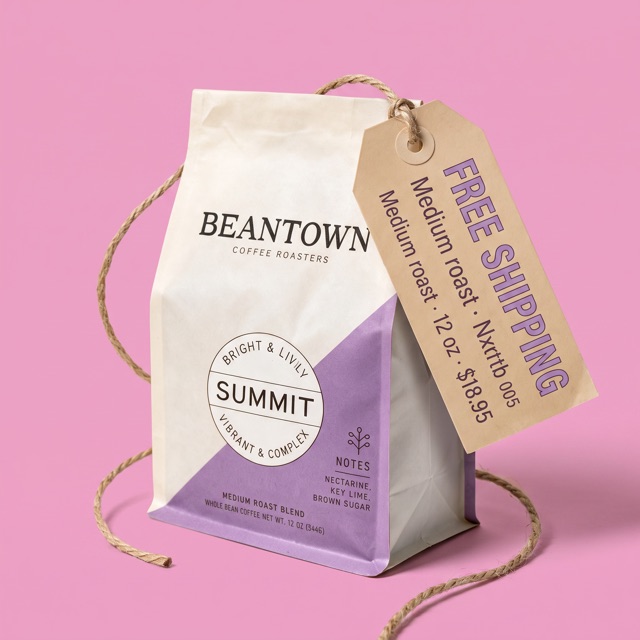
A minute later, you have three sketched sequences to choose from.
Store Creative Studio authors three product-page sequences, card by card, with the fact each card carries already placed.
Step 5 · Get A/B/C sequences
Three sketched sequences come back — the same product, three ways to tell it
A minute later you're looking at three concept sheets, drawn cheap on purpose. Each is a complete product-page sequence in the format you picked, card by card, with the headline and the fact each card carries already written. These are the real sheets a run produces — you're choosing the sequence before anything renders.
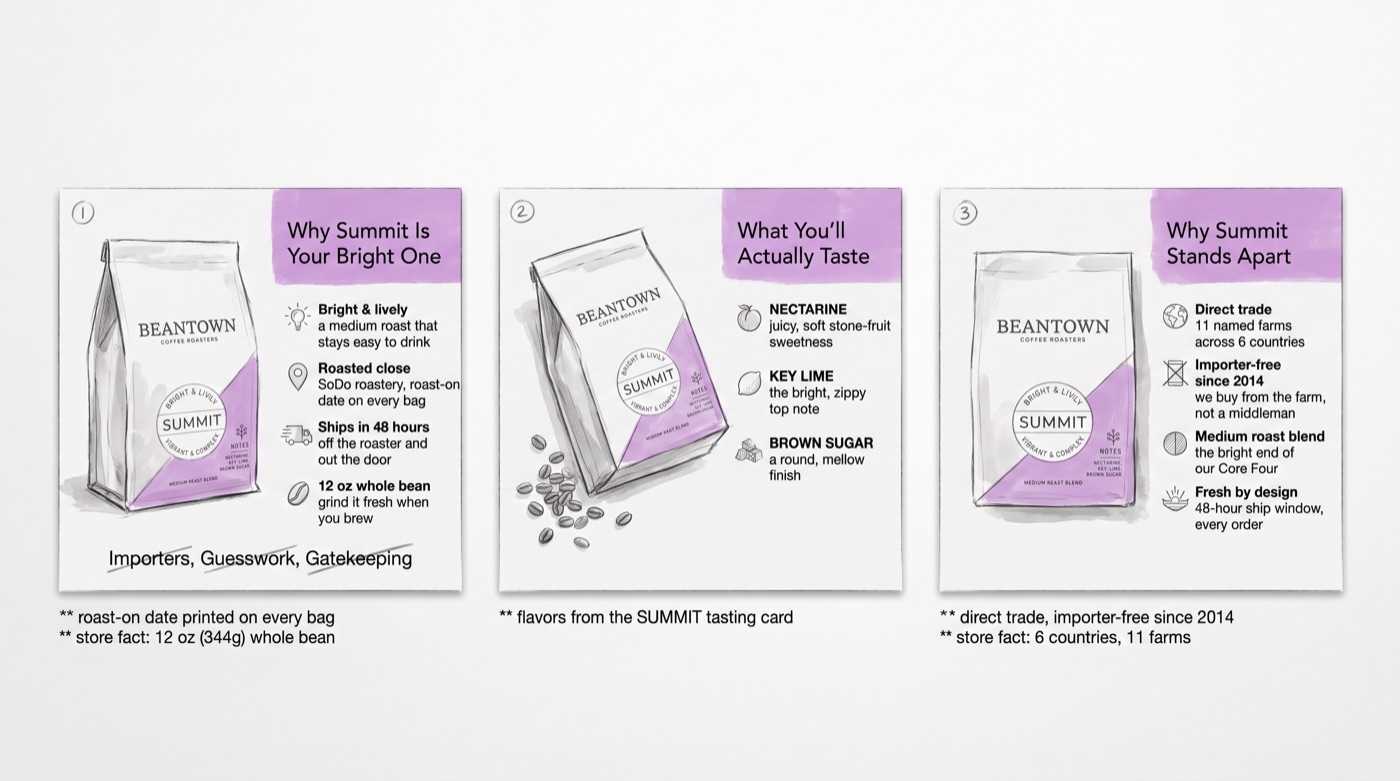
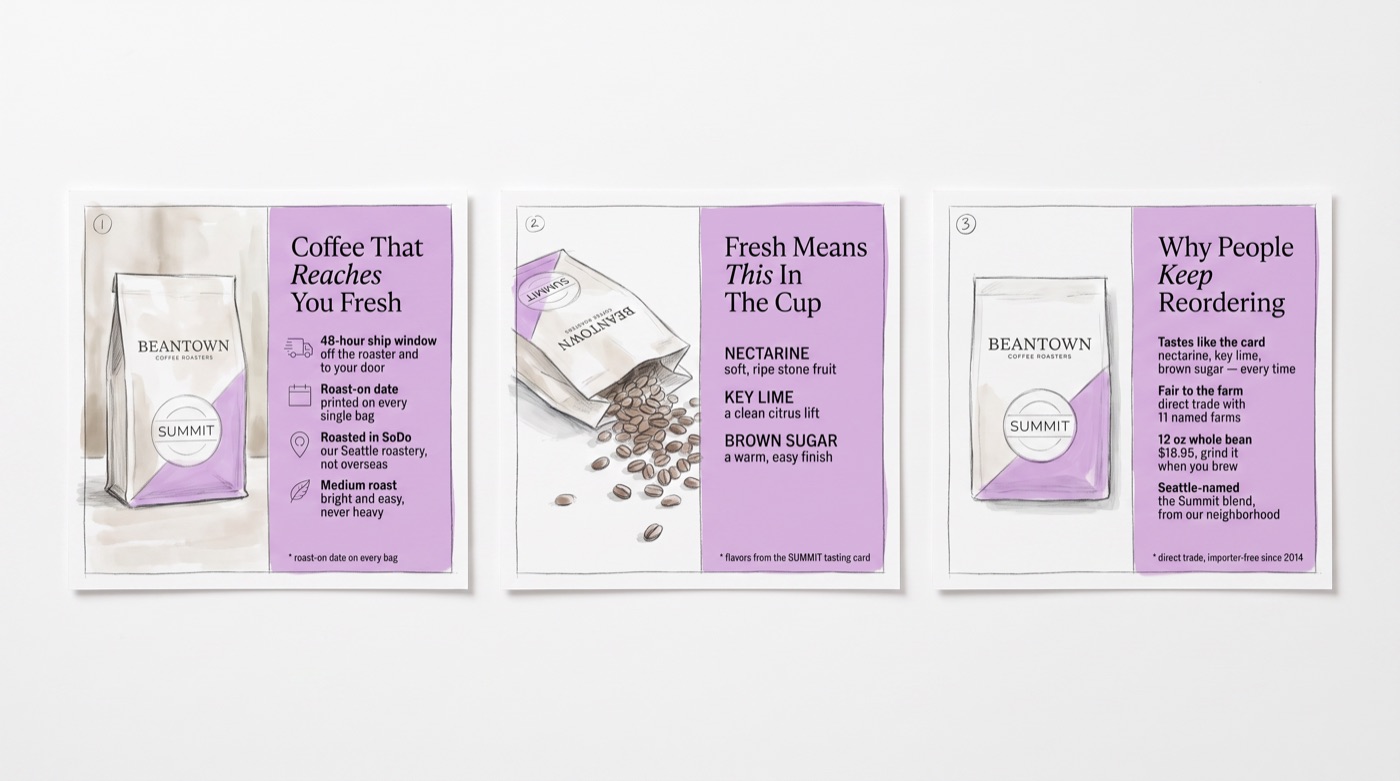
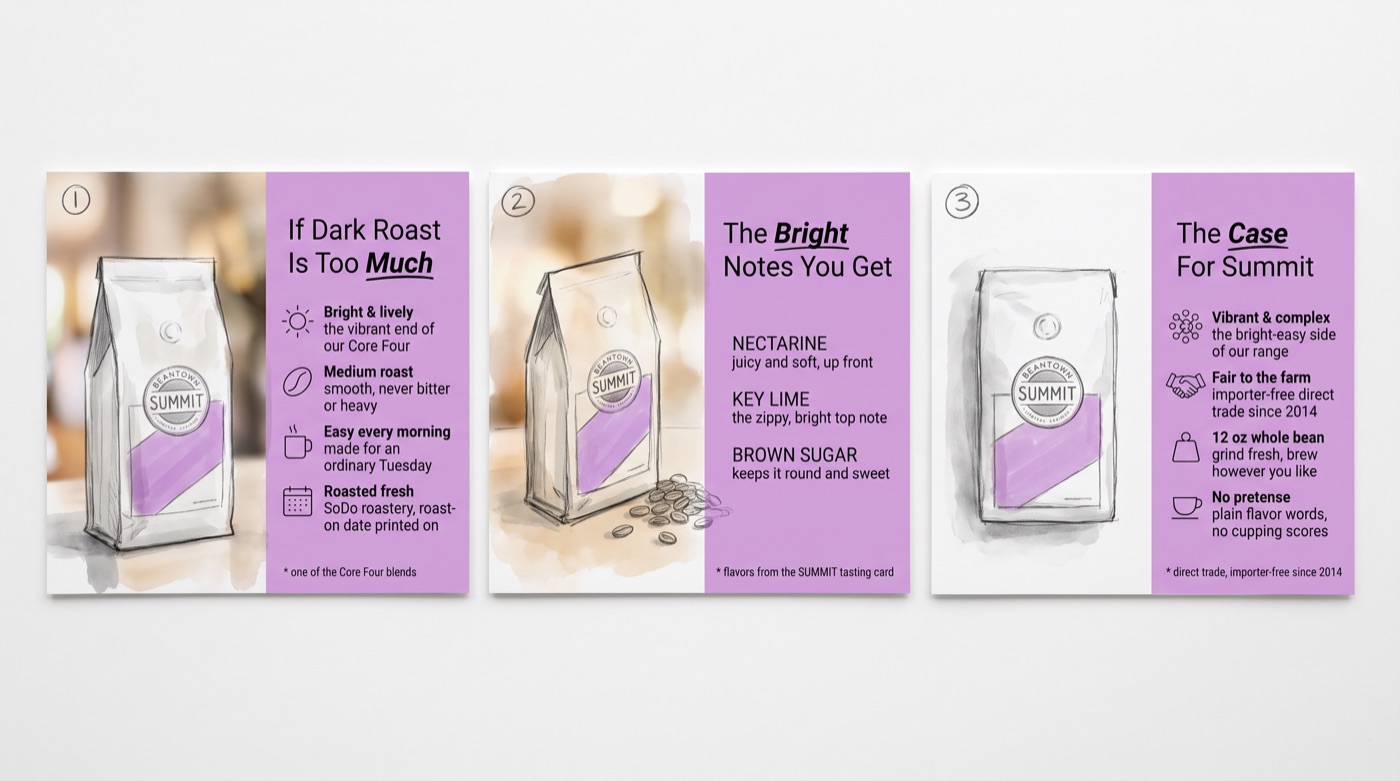
You choose sequence A, the cards come back in order, and one click makes the video.
Approve & produce renders the sequence with the real product and the real facts. The product video is one more click, music optional.
Step 6 · Choose a board, get the cards
Approve sequence A and the cards come back in order — then one click makes the product video
You choose sequence A and click Approve & produce. The cards render at full quality in the order the sheet reads — the same three cards, the real bag in every one, the facts printed as the chips showed them. Every produced card carries a heart. One more click turns the finished sequence into a product video, typically in under a minute, and Add music scores it — a track composed fresh or one saved in the kit. The silent version is always kept.
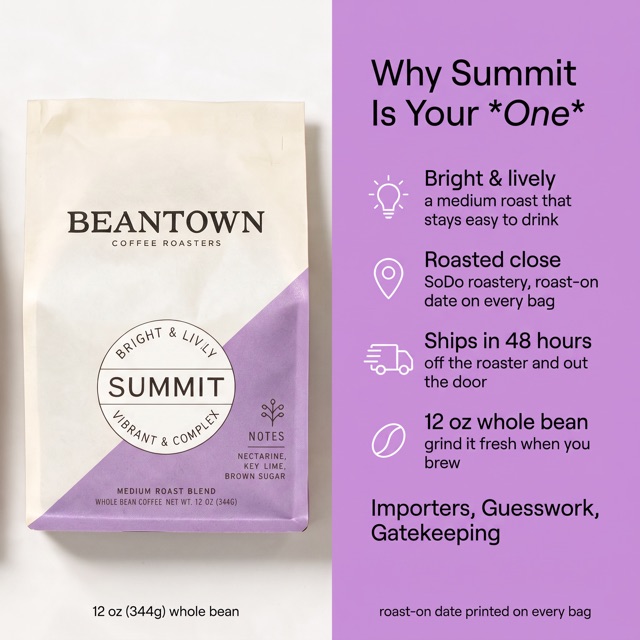
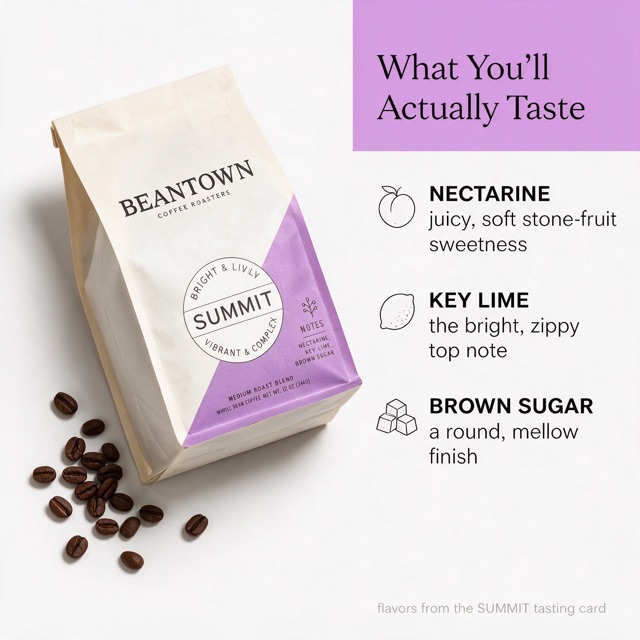
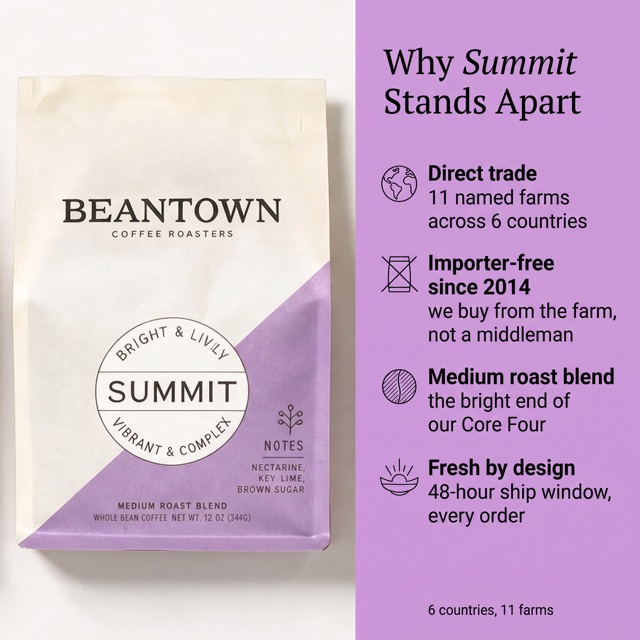
You heart the keepers and publish them straight back to the listing.
Add to your store stages them. Publish appends them to the product's media with alt text written, or drops them in the Store Library.
Step 7 · Publish back
Heart the keepers, add them to your store, and publish to the listing they were made for
On a connected Shopify store the panel is the store surface. Heart the keepers and Add to your store stages them. Publish has two destinations: the Product Listing — appended to the product's media, never replacing what's there, with alt text written for you on every image — or the Store Library, for theme sections, emails and blogs. The video goes up as real product video media. One click opens the listing in your store. And every card remembers which product it was made for, so a session with several products can never cross listings.
already there
Or you say the whole thing to Claude and let it work the catalog.
Claude pulls the real product and its facts, authors the sequences on a live preview, and publishes only on your go.
Or · Say it to Claude
Tell Claude the product and the point — it pulls the real facts, authors the sequences, and publishes on your go
Everything above can be said instead of clicked. Claude finds the product in the connected store, reads its real price and options, picks a store format and argues why, hands you three sketched sequences on a live preview, and produces the one you approve. Publishing to the listing is always your explicit go. The playbooks are named for the job on your desk.
“Refresh the Summit listing for the roaster — tabletop, four cards, the notes and the price, free shipping on the close. Show me the three sheets, then publish the one I pick.”
- A connected store comes first. Connect Shopify, or pull the store in by URL, once on the brand kit — every product, price and option is live from then on.
- Publishing back to the listing is a Shopify connection. Stores that came in by URL make the creatives the same way; you download and upload them to the store yourself.
- Append-only, on purpose. Publishing adds to the listing's media and never deletes or replaces what's there. Videos are processed by the store after publish and appear within a few minutes.
- Facts are printed digit for digit, or not at all. If the store has no price on a product, no price appears — nothing is invented to fill the space.
- A young library on a proven engine. The store-format shelf is growing, built by the same harvest discipline behind the ad studios' library.
Pick Store Creative Studio from the model menu. Connect the store. Load a product. Generate.